 |
| I have a sister who used to be in the theater. Whenever we are in the car together, it's all about HER. Against my good advice, she insists on taking the most roundabout, zig zag route imaginable to get us from point A to point B. She laughingly says it's because she likes to be different. She deliberately puts on her "DIVA" persona whenever she gets behind the wheel, because when she is driving she won't listen to ME, instead she'll insist on going her own way! I grew up being bossy, AND I'm older than she is therefore when I try to point out the advantages of taking the faster main roads to get where we are headed, she'll simply smile and continue to ignore my "great wisdom", and drive where she wants to. And so we will always take the scenic routes- the longer, roundabout pathways, through strange neighborhoods, backstreets and side alleys; areas I never knew existed! And I have had to learn to hold my tongue, sit back and enjoy the ride until we get there. And thus I've found, (providing that your not the one paying for the gasoline ), that the road less travelled is often the most interesting This observation is certainly applicable as to how I came to have the balcony on Villa Leone that I now have. Not knowing where to start with its initial construction, I decided to take a detour and do something I knew would work, and which I hoped would give me the courage I would need later on. I began by repainting the black front door. |
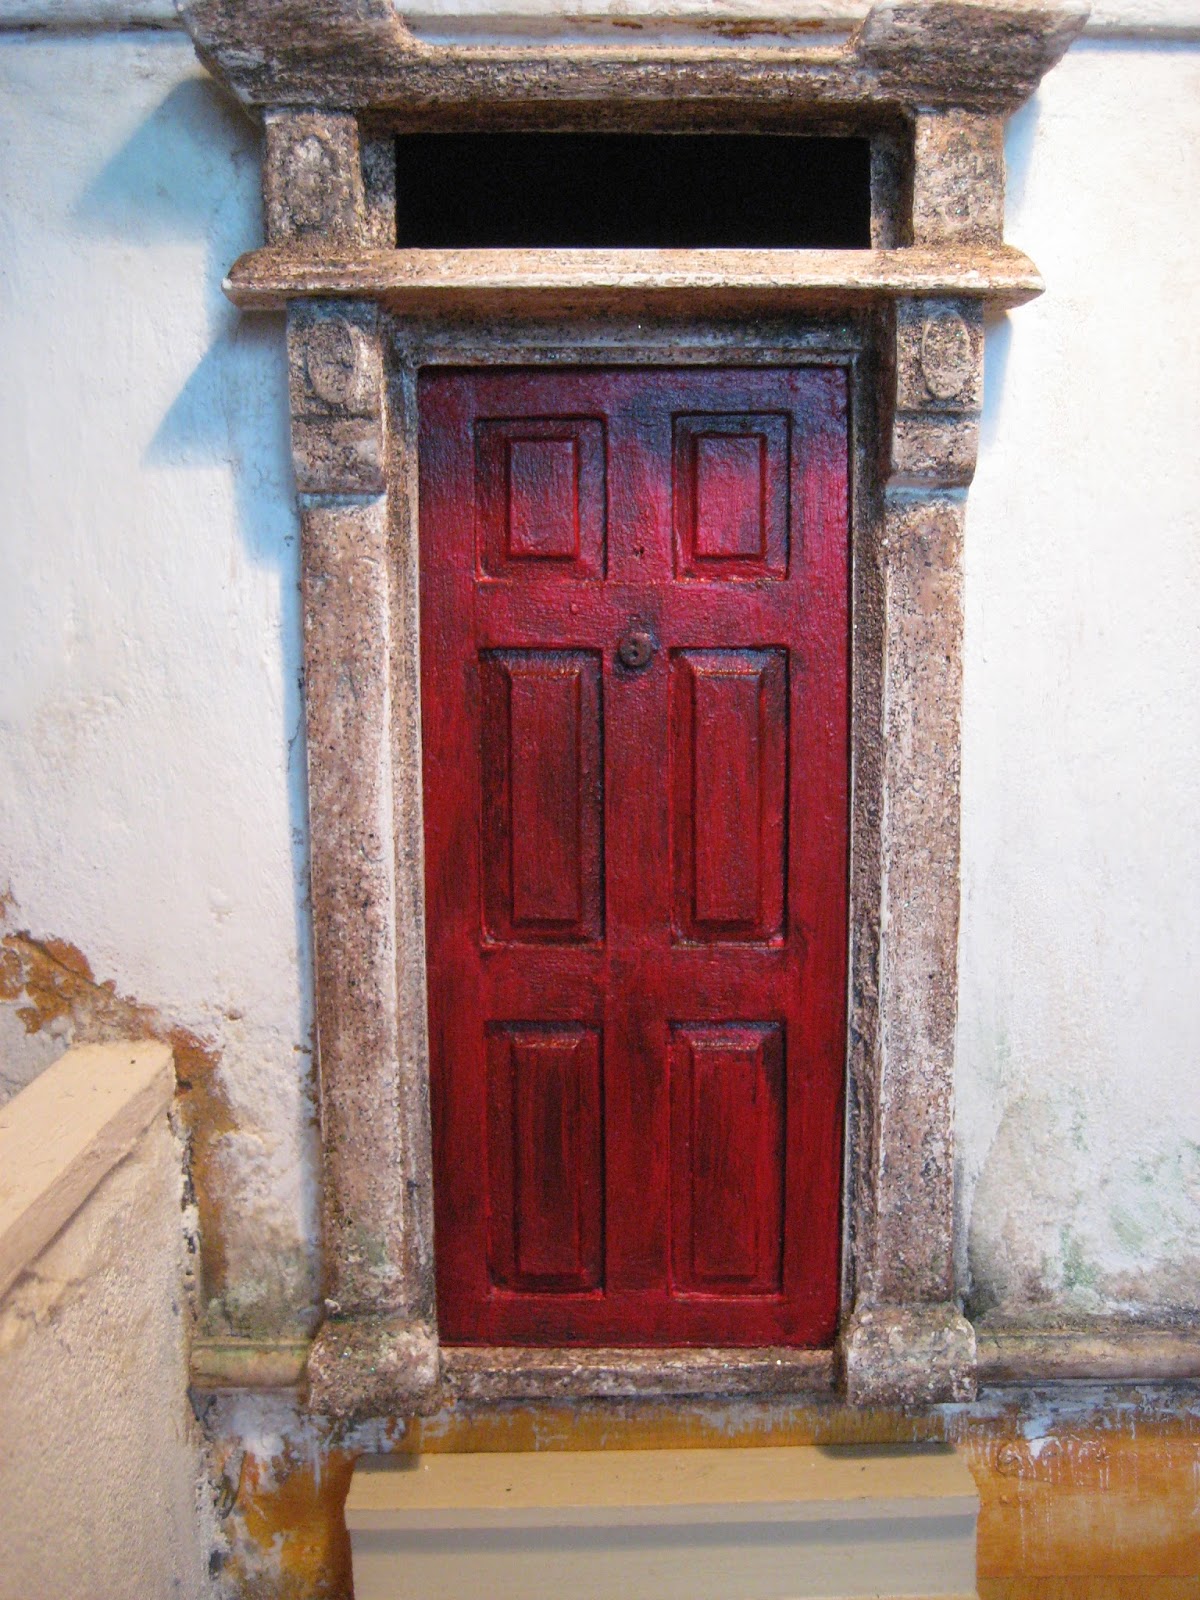 |
| Right after I read Betsy's comment in my last post about painting the front door of the villa a "Blood Red", I set about doing it. I love Red front doors and so Betsy's advise was easy to follow. I chose "Geranium Red Patio Paint" from Michael's, to go over the existing black paint. I deliberately made the red paint thin in some areas which allowed the black to show through. I lightly sanded the door and then muddied up the color with a thin veil of black gel stain over the red to age it. Once the painting was done, I KNEW that it was a keeper, so I went ahead and glued on the extra trims, i.e, the lion's head door knocker, two additional decorative iron panels at the top of the door, a lock and the carved door handle and plate in the center of the door. I made mine from a necklace clasp which was something I'd seen in a tutorial somewhere. Placing the handle in the center of the door was something Janine had done on her French house, and which she'd told me was very european. |
 |
| For added weathering, I also used a lead pencil on the surface of the door. |
 |
 |
| I left 2/3 of the door red but darkened it by degrees, towards the threshold. I was pretty happy with the overall results, so THANK YOU Very Much Betsy! :D The front door will in all likelihood, remain removable probably.... forever, since the entrance hall will be difficult to access otherwise. I was able to cross that job off of my list, while still avoiding work on the balcony. Repainting the door, instantly changed the mood of the house and directed me towards a decision about the patio  |
| to remove it |
| I took it off because in all of my research on Venice, I didn't see anything in any of the buildings, to support it. So once I made up my mind that it had to be done I didn't hesitate. The patio came off so cleanly that I was astonished! The small wall however, did leave a big gash in the front facade, which I patched up later with cement. |
 |
| This is the entire patio unit. And wouldn't you know... |
 |
| the length fit perfectly along the side of the house- Yahooooo! :D |
 |
| leaving just enough room to add a front retaining wall later on. |
 |
| With the patio relocated, it was time to focus my attention on the space above the second floor french doors. ( notice how I'm still circumnavigating the balcony?) |
 |
| I had been to the thrift store and found a multiple tea light candle holder with decorative tin floral motifs attached to a metal frame. Since one was already partially detached, I realized that the rest of the medallions would be a snap to remove too. When I got the candle holder home, I easily snipped them all off with a pair of pliers. |
 |
| I cut 2 of the motifs down to fit inside the empty arch above the second floor doors. |
 |
 |
| I layered the two piece of tin together which increased their mass and filled the recess. Then went over everything with wall patch, avoiding the negative spaces. I gave it a light sanding and aging using water based stains, which completed this plaster relief. |
 |
| The day I bought the candleholder, was the same day I bought this black metal basket also at the thrift store. I had every intention of using it for the front balcony. I was feeling giddy at the thought! This would be the quickest and easiest route to get where I was going, since it was ready-made and already looked like a balcony! As you know, I am by nature, quite lazy, not to mention impatient and I'm always on the lookout for the shortcuts. But here is where I ran into a roadblock. This metal basket did NOT come apart easily and violently resisted my considerable efforts to cut through the frame to achieve the dimensions I required. I was working up a terrific sweat as I sawed through the metal. It was with great determination and all the strength I possessed in my hands and arms, that I managed to finally cut through the frame to have just enough for one section of the balcony, yet not enough to complete the project. Huffing and Puffing I reluctantly had to abandon my shortcut intentions of using the metal basket as planned. |
 |
| TOO BAD! IT WOULD HAVE BEEN SO NICE but perhaps I could still make it work- somehow. |
 |
| Now, to tell you the truth, I kinda liked this look and I would have probably used it, but I just didn't want to have to go though that wrestling match again! |
 |
| I did however salvaged a mangled piece of the filigree tin. After I straighten it out, I cut it down to use as grill for over the front door. Waste not, Want not! I decided while I was at it, to explore a number of different directions, to see if any would lead me to a final commitment. Below are just a few of Many variations. Several of them I actually liked! |
 |
| :) |
 |
| At one point I was also considering shutters for the french doors. I had One shutter, which was not even the right size. Even so, I tacked it onto the door to see if it was worth considering. :/ |
 |
| I took it off :/ |
 |
| Still going around in circles :) |
 |
| :O !!! |
 |
| :/ |
 |
| And THIS is where I ended up and this is how I got here... While Janine was flying back from Australia, Fatima and I attended a miniature estate/garage sale across the border and it just so happened that there were lots of carved balcony spindles and railings in a pile marked FREE! When I got them home and tacked them to the balcony, they fit the bill for the balcony... very Solid and Substantial! I spray-painted them white then waited for the paint to dry. Meanwhile- Janine at last arrived back in Canada, so she and Fatima and I met and exchanged mini gifts, had show and tell, told stories, shared treasures, ate and visited. Janine brought back some AMAZING needlepoint goodies which Linda Park had made for the 3 of us! Truly AMAZING gifts! Thank You Linda! :D I will show mine in a later post, as well as some of my other lovely gifts received from friends. Linda arrives later on this month, but she sent some things along with Janine, i.e. these laser cut, chipboard tags. These gift tags looked Oriental/ Turkish. There is a lot of the Turkish influence in many of the homes in Venice so when I returned home, I cut some of the tags down to see if they would fit as inserts into the window slots of the french doors. |
 |
 |
 |
| THEY FIT PERFECTLY! And they entirely transformed the look of the balcony. I painted the grillwork to look like aged metal, after which, I painted the doors "Brick Red" and aged them with black gel stain. That altered their color to a deep, rich burgundy. |
 |
| Taking this road led me down another. Under the balcony I installed 2 MORE lions for additional visual supports and I also added a horizontal flag pole. I was also inspired to finish the lower doors which received 2 carved panels, after they'd been glued permanently shut! |
 |
 |
| What luck! I found a photo in a magazine of the winged lion of Venice, which I plan on transferring onto fabric and adding fringe. My intention is to suspend it as a flag on the flag pole. |
 |
| Or I could I drape it over the balcony? |
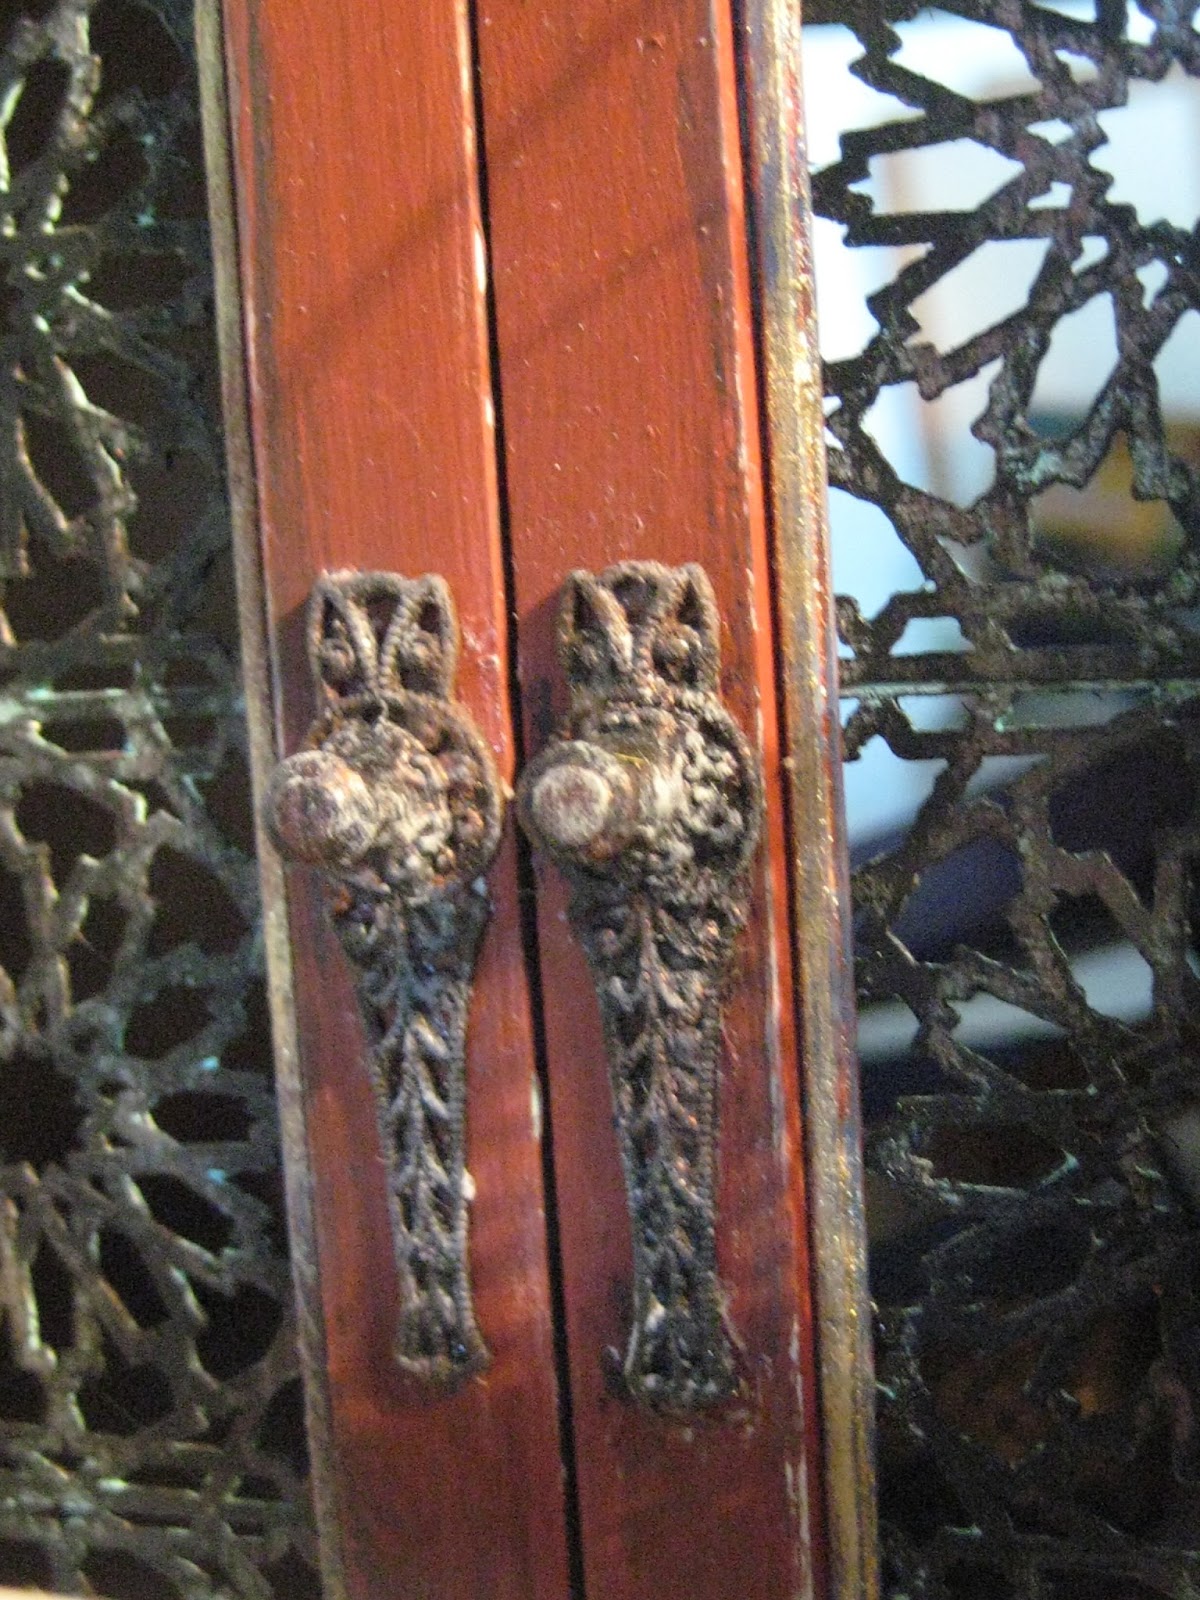 |
Before I forget, these are the door knobs for the second floor French doors. The painted metal findings work really well with the metal grill inserts. Having realized one balcony; leaves me the second one yet to do. |
 |
| Here we are again, back to the patio side entrance with the Juliet balcony still waiting in the wings. |
 |
 |
 |
| I made all of these plants, except for the big one. |
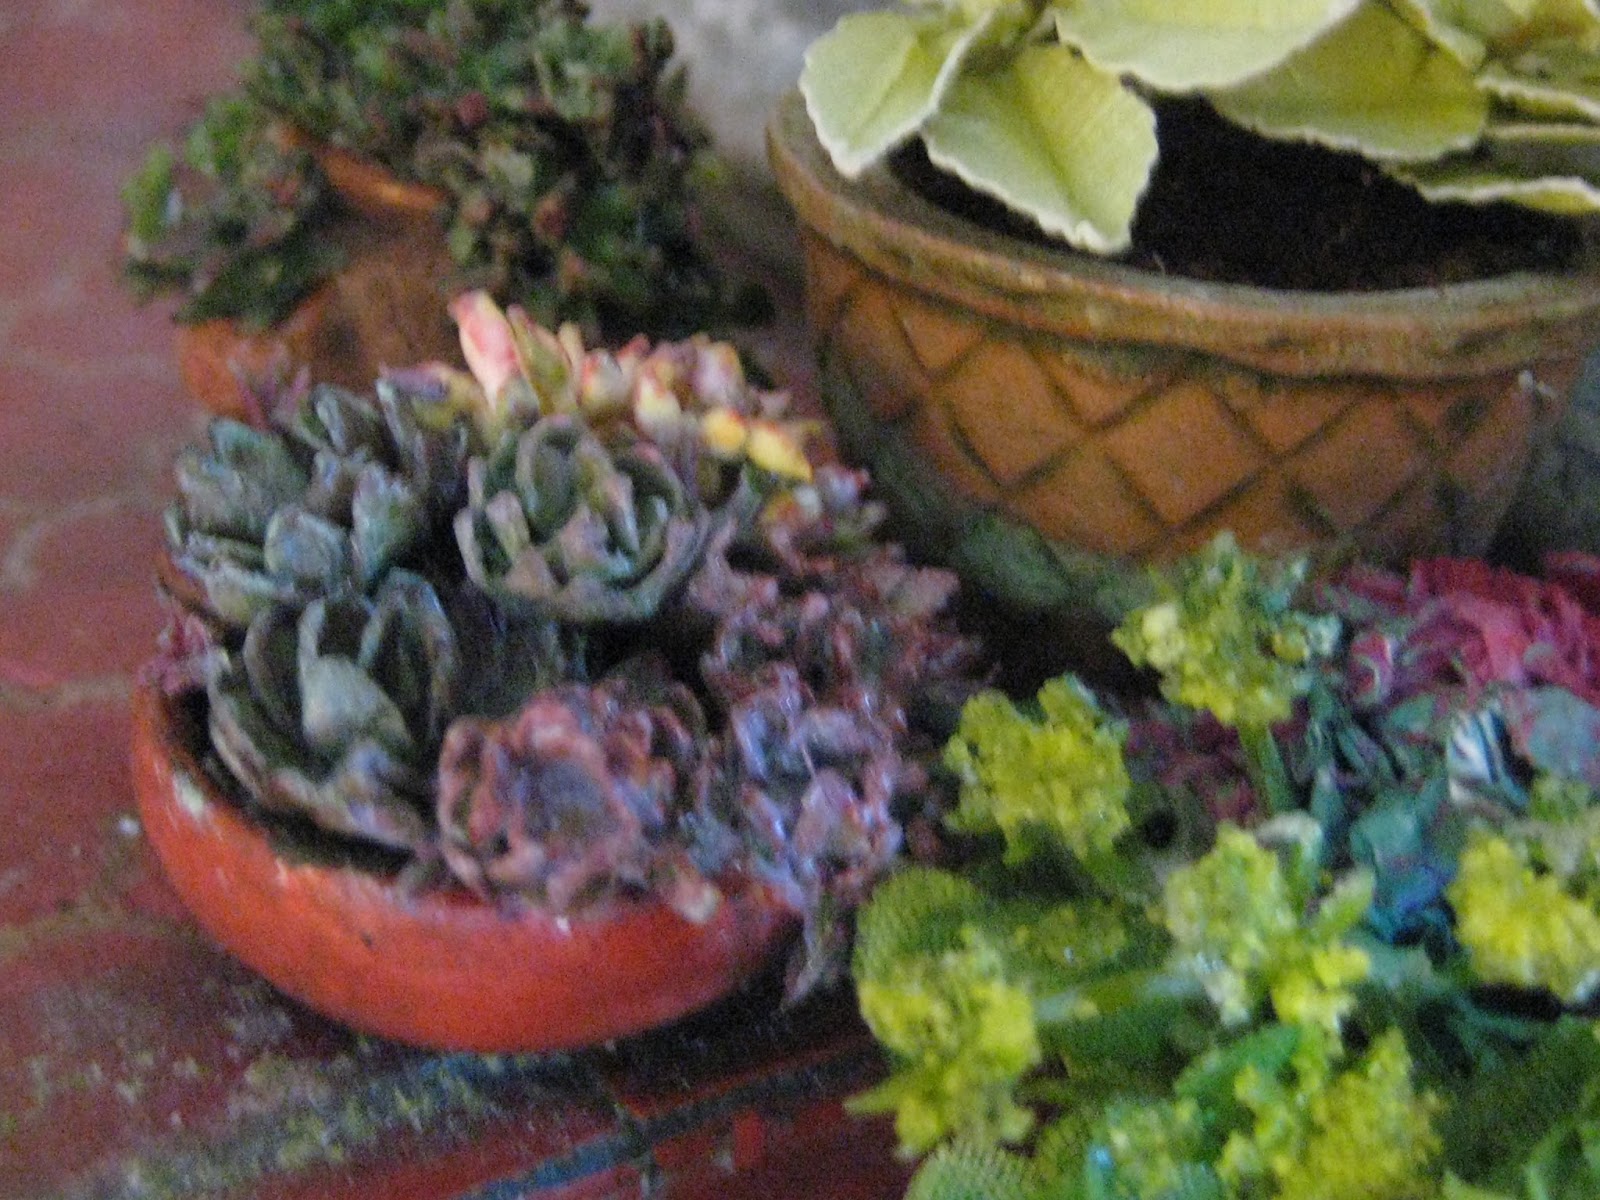 |
| I'd tried out Annie Fryd Christensen's "We Love Miniatures" youtube tutorial https://www.youtube.com/watch?v=SOIFLFl74mU&index=5&list=PUtkTdmDzMxrjQ2qXBZl7Xjwon how to make paper succulents, which were lots of fun! My intensions are to FILL the patio and both of the balconies with colorful flowering plants. I prefer to contemplate making plants because then I don't have to think about making that second balcony!!! :( |
 |
 |
| The white clothes peg is a wedge to level out the door panel, since I had to re-cut that opening,... AGAIN! |
 |
| Detail of the patched and crumbling wall and foundation. |
 |
| And I finally decided on an exterior lamp to hang by the front door. I made it myself based on the one I made for my room box "GOTHICA"Best in show http://studioeminiatures.blogspot.ca/2013/06/best-in-show.html |

 |
| and it does! I still have to settle on 2 matching exterior lamps for either side of the second floor balcony. I'm considering a pair of black carriage lamps, however I wanted something entirely different beside the front door. |
 |
| The front stoop is an old sanding sponge rubbed nearly naked. For now it works fine until I get to that project. |
 |
| One final note: Janine found a magazine article about Venice, during her return flight to Canada. She gave me the tear sheets when the 3 of us were together at Fat's house. The photos and the text were TERRIFIC resource materials and they provided a closer view of some of the homes along the canal. Here is a quote from one of the printed captions: "While many of the old palaces here have been restored, many more are peeling and crumbling bulging and lurching. And this is part of the appeal" I agree! One peeling crumbling, balcony down, and one more to go.... but I have to leave you now because YOU have arrived at the end. Hope you enjoyed your trip to the balcony even though I made you go the LONG WAY. |

 |
elizabeth
.jpg)

